Token Deployment
This tutorial uses BNB as an example to demonstrate how to deploy and execute your own Token contract on the DO chain.
Writing Contract
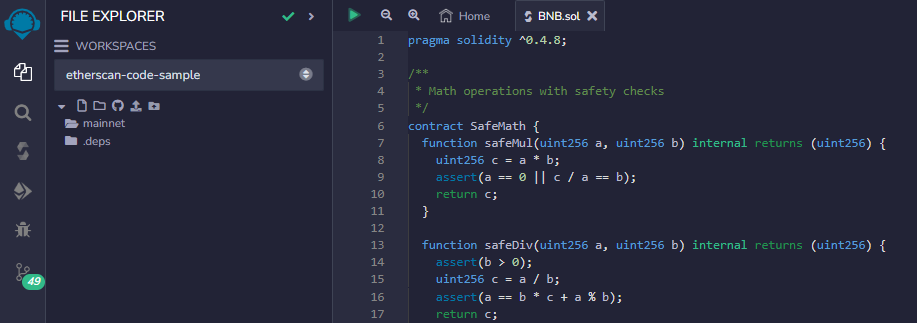
- Open the link BNB Token in your browser to open the Token contract that BNB deployed on the Ethereum mainnet in the Remix IDE. After opening, the browser interface is as follows:
- Click the
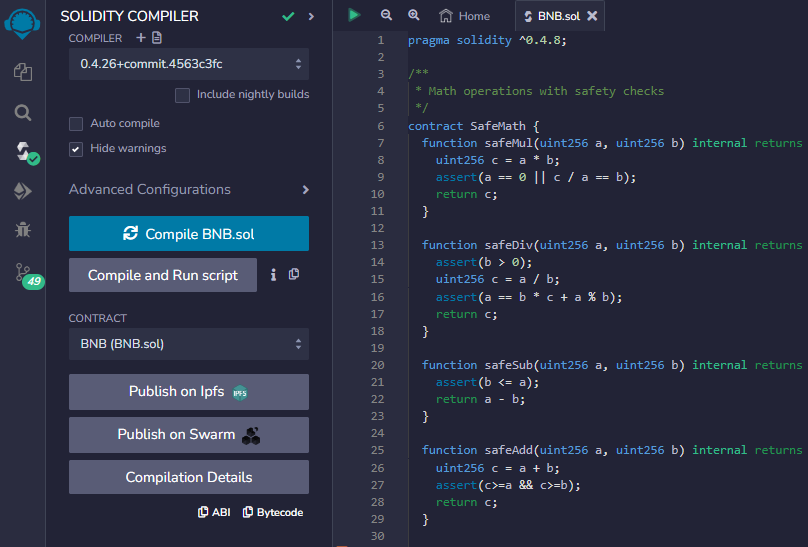
 menu in the right sidebar to enter the compiler page to compile the contract. The contract compilation successful interface is as follows:
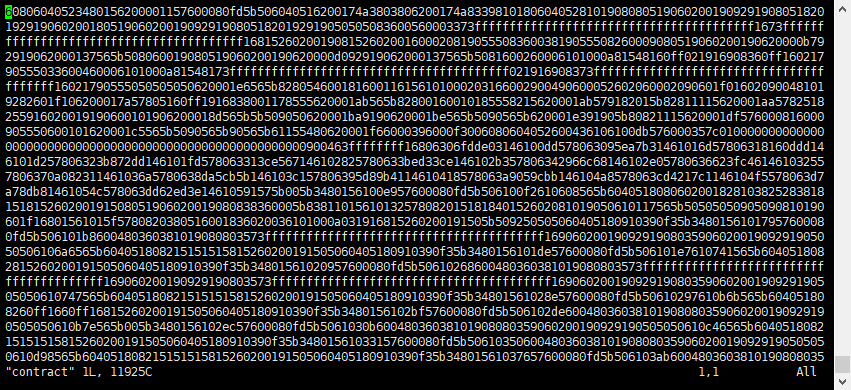
Click the Bytecode at the bottom of the operation bar to copy the contract binary code.
- When the DO program starts for the first time, it will generate a contract folder at the same level as the program. Create a text file named contract in the contract folder, with the contents being the contract binary code copied in step 2.
- Click Compilation Details to obtain other contract information, and create the corresponding files in the
contractfolder.

Where source.sol is the program source code, abi.json is the contract ABI used for the block explorer to parse contract information. If the ABI is not provided, the block explorer will not be able to parse the output information of contract execution.
Deploying Contract
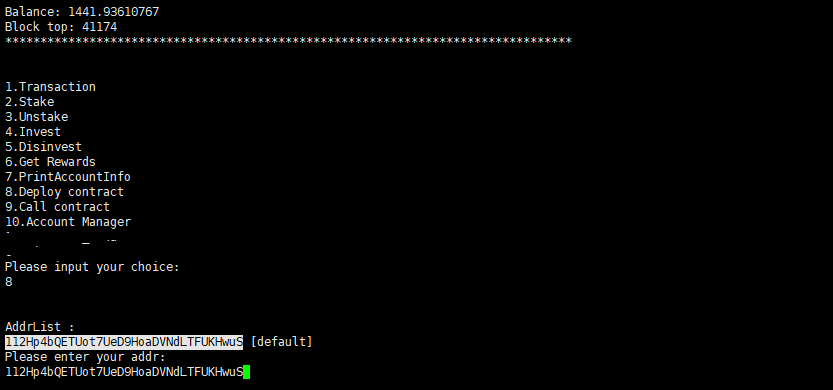
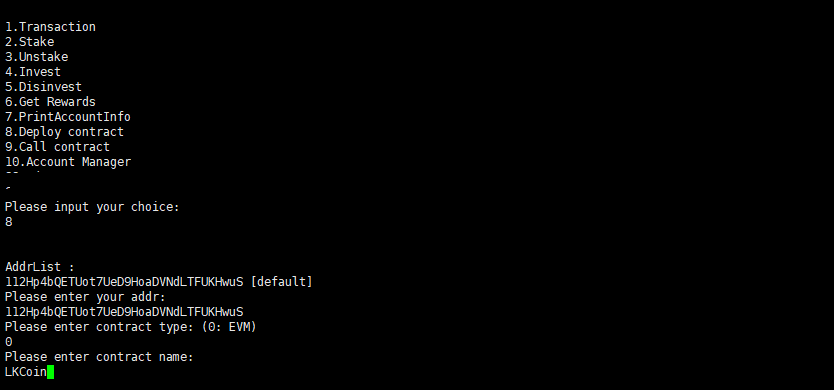
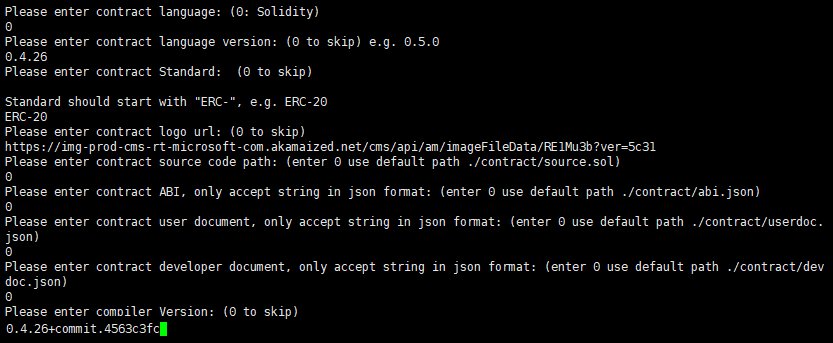
Start the node through the menu, press 8 to deploy the contract. First, enter the account of the deployer.
Input the contract type and contract name.
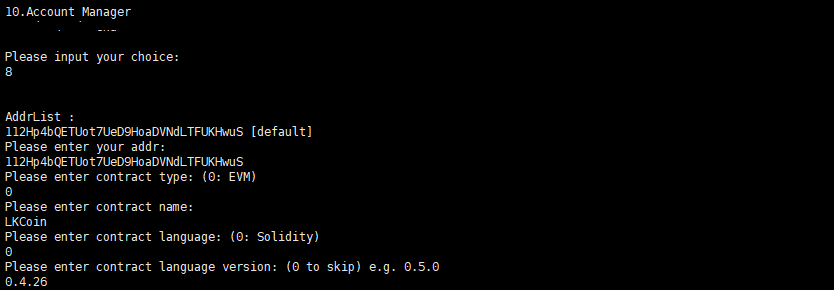
Input the contract language type and language version.
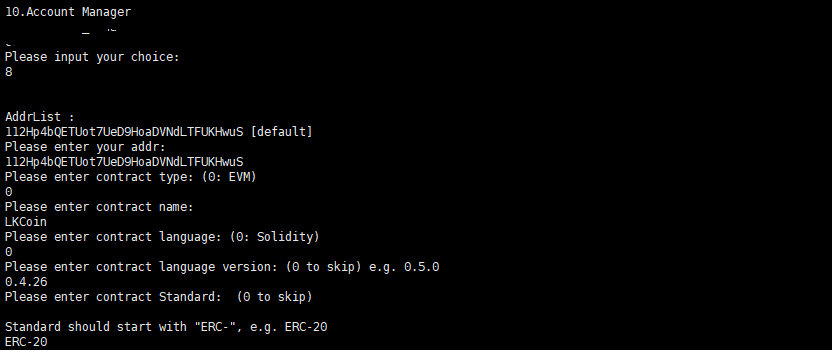
Input the contract standard. This item is not required, but if this item is not provided, the block browser will not be able to display the contract execution information.
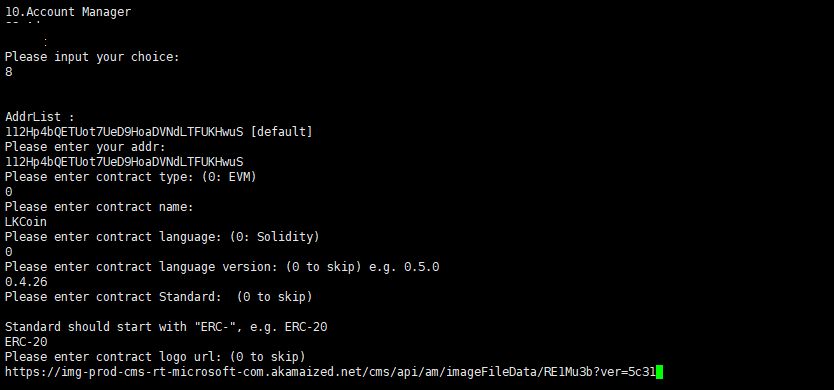
Input the logo url. This link address is a picture resource address, used to display the token icon on the block browser.
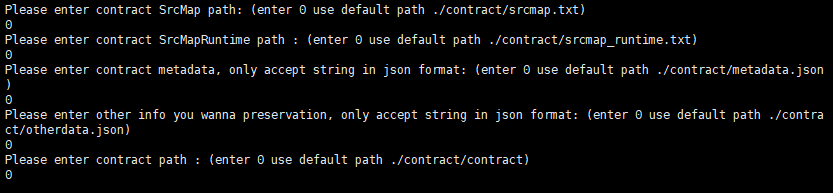
Next, enter 0 to read the contract-related information stored in the contract folder, and then enter the compiler version used to compile the contract.
Continue entering 0 to read the remaining contract-related information, and finally read the contract binary code. The read contract binary code will be displayed on the screen.
Go back to Remix IDE, click
 to enter the deployment page. Expand the DEPLOY form and input the corresponding deployment parameters, as shown in the figure below:
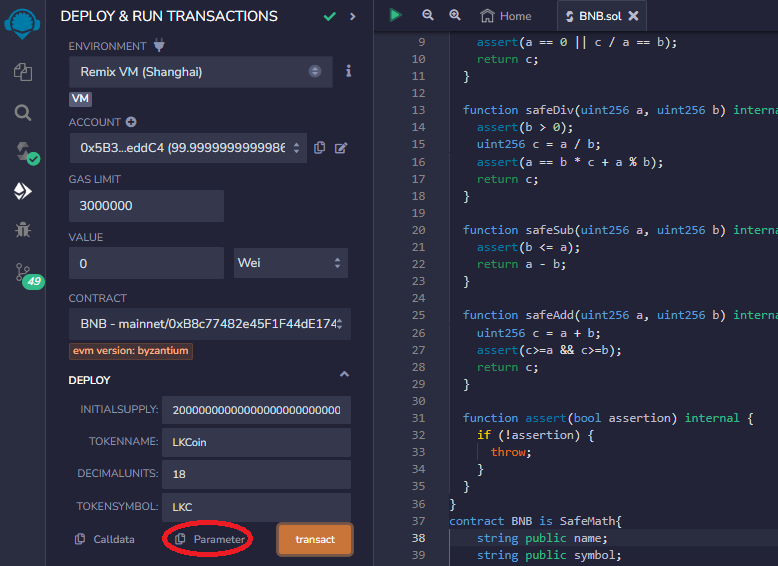
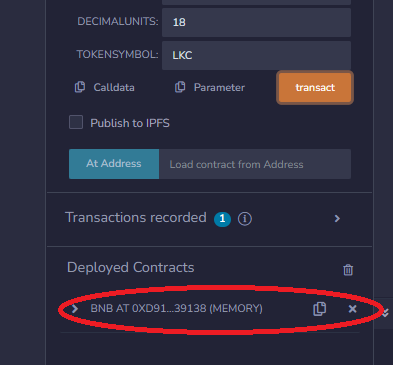
Where TOKENNAME is the name of the token, TOKENSYMBOL is the token currency symbol. Replace it with your own designed name and currency symbol to issue your own token (In this example, a token named LKCoin was deployed, using the currency symbol LKC)
- Click the Parameters in the figure above to copy the
inputneeded by the constructor function when the contract is deployed, paste theinputinto the program interface to complete the deployment.
- Click the Parameters in the figure above to copy the input needed by the constructor function when the contract is deployed, paste the input into the program interface to complete the deployment.
After deploying the smart contract, you will get two addresses for the contract
- ContractAddress and EvmAddress.
ContractAddress is used for regular transaction behaviors like transfers. EvmAddress is used to interact with the contract, like passing it as a parameter when calling contract functions.
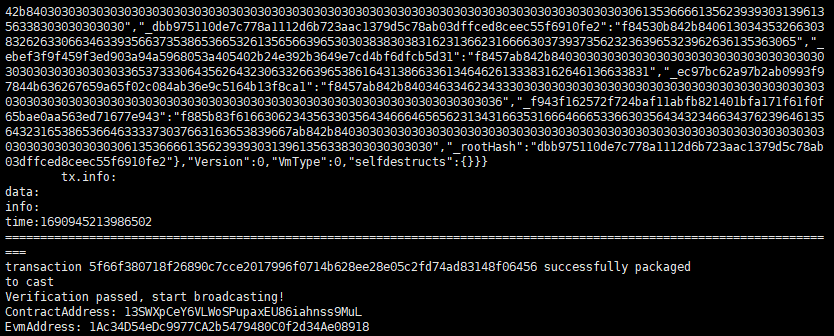
Execute contract
Let's take getting the LKCoin token balance of an address as an example of executing a contract:
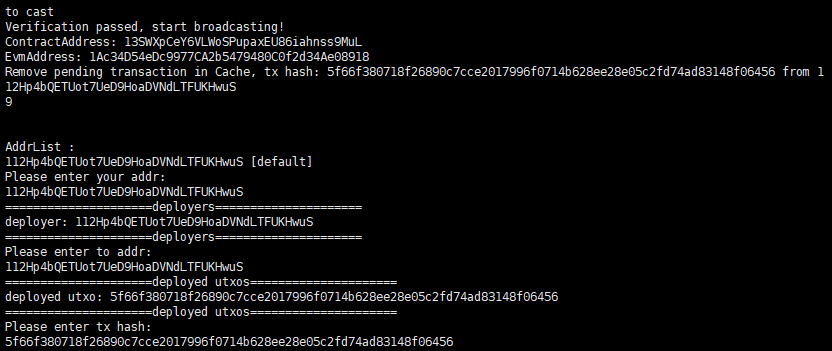
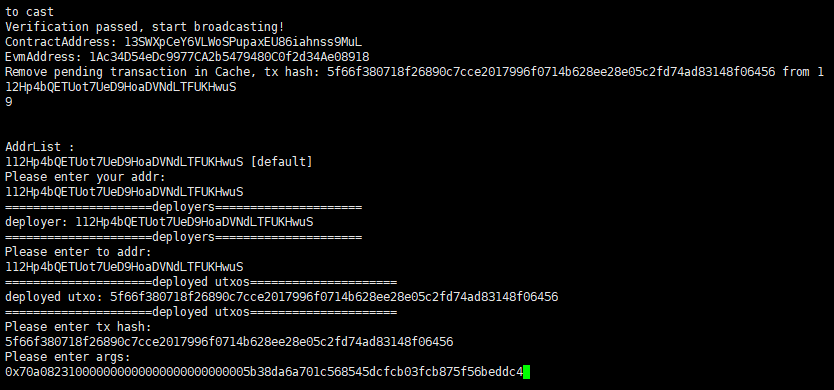
- In the program menu interface, enter 9 to access the contract execution function. According to the prompts on the screen, sequentially enter the account executing the contract, the account that deployed the contract, and the transaction hash generated when deploying the contract.
- After entering the deployment parameters on the Remix IDE deploy page and clicking transact, the following items will be listed in the Deployed Contracts section below:
- Expanding the deployed contract item shows all the callable interfaces for that contract.
Expanding the
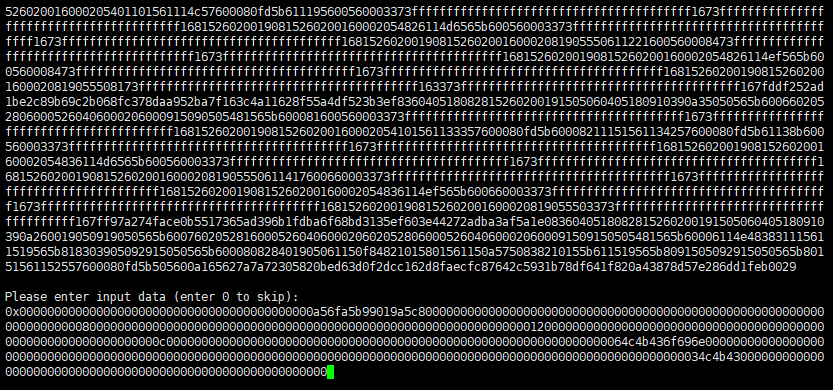
balanceOfform item allows you to input the account address (EvmAddress) to query. Clicking Calldata will copy the input required to execute the contract and get the balance.
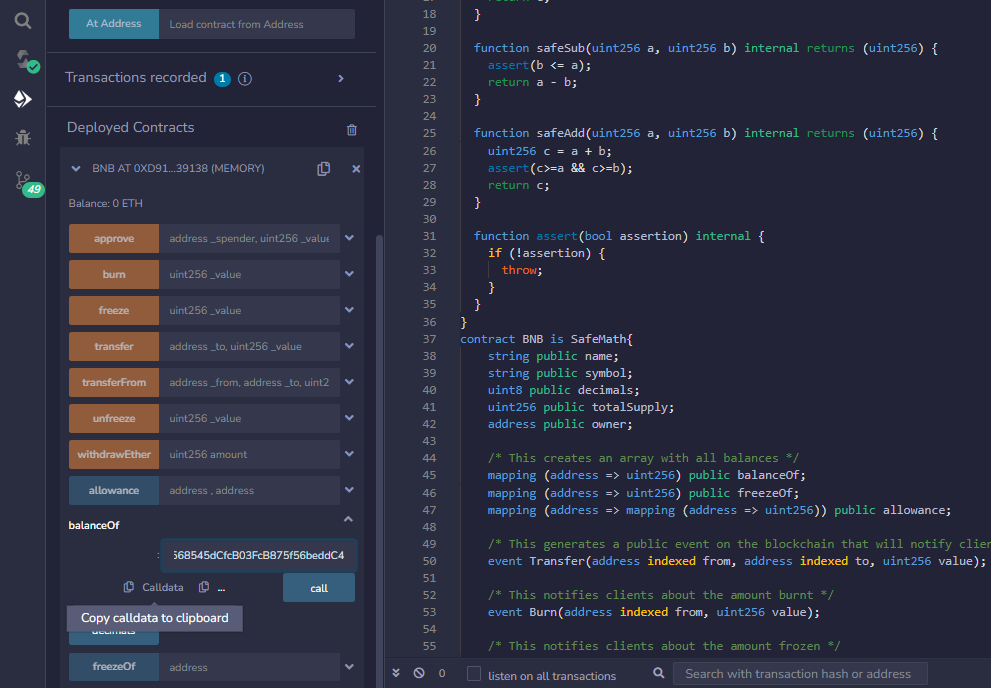
- Return to the program interaction interface and input the copied input data.
- Enter the tip you want to pay the contract deployer and the amount of DO coins you need to transfer to the contract to complete contract execution.
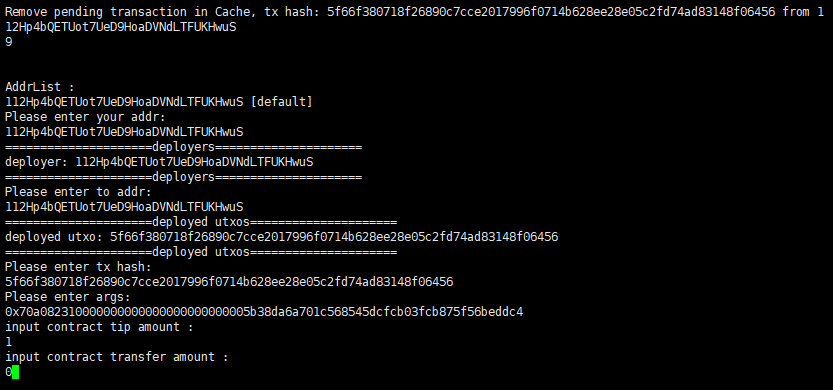
- The unit of DO currency transferred to the contract at last is different from the transfer unit used in the contract, and the transfer unit in the contract is $10{-8}$ DO currency.
That is enter 10 the
msg.valuein the contract will be 1,000,000,000; If you enter 0.0000001, themsg.valuein the contract will be 10.